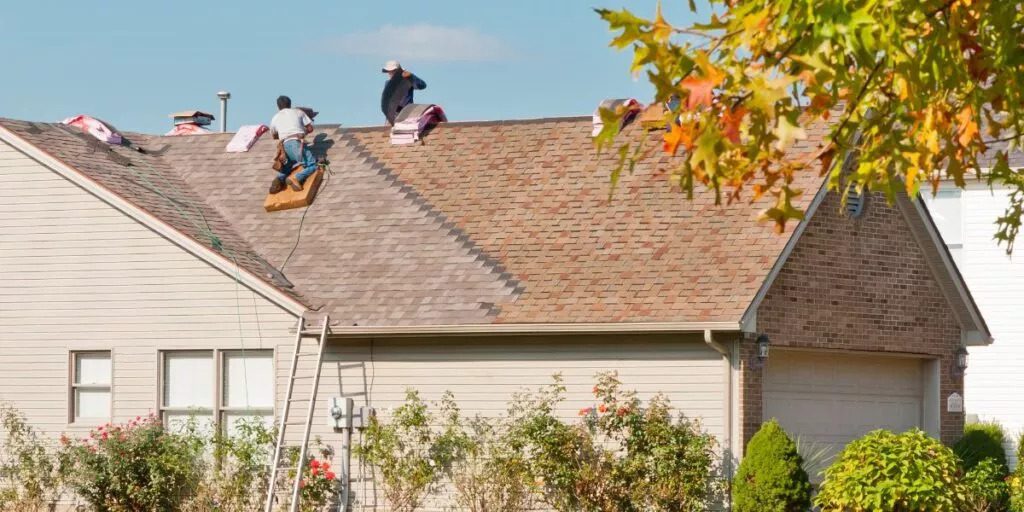
Why You Should Consider EPDM Over TPO for Your Roofing Needs
When it comes to choosing the right roofing membrane for your property, two popular options often stand out: EPDM (Ethylene Propylene Diene Monomer) and TPO (Thermoplastic Olefin). Both are widely used in the roofing industry, especially for commercial and flat roofs, but each has distinct characteristics that may make one more suitable than the other depending on your specific needs. In this blog post, we will explore why you should consider EPDM roofing membranes over TPO roofing membranes.
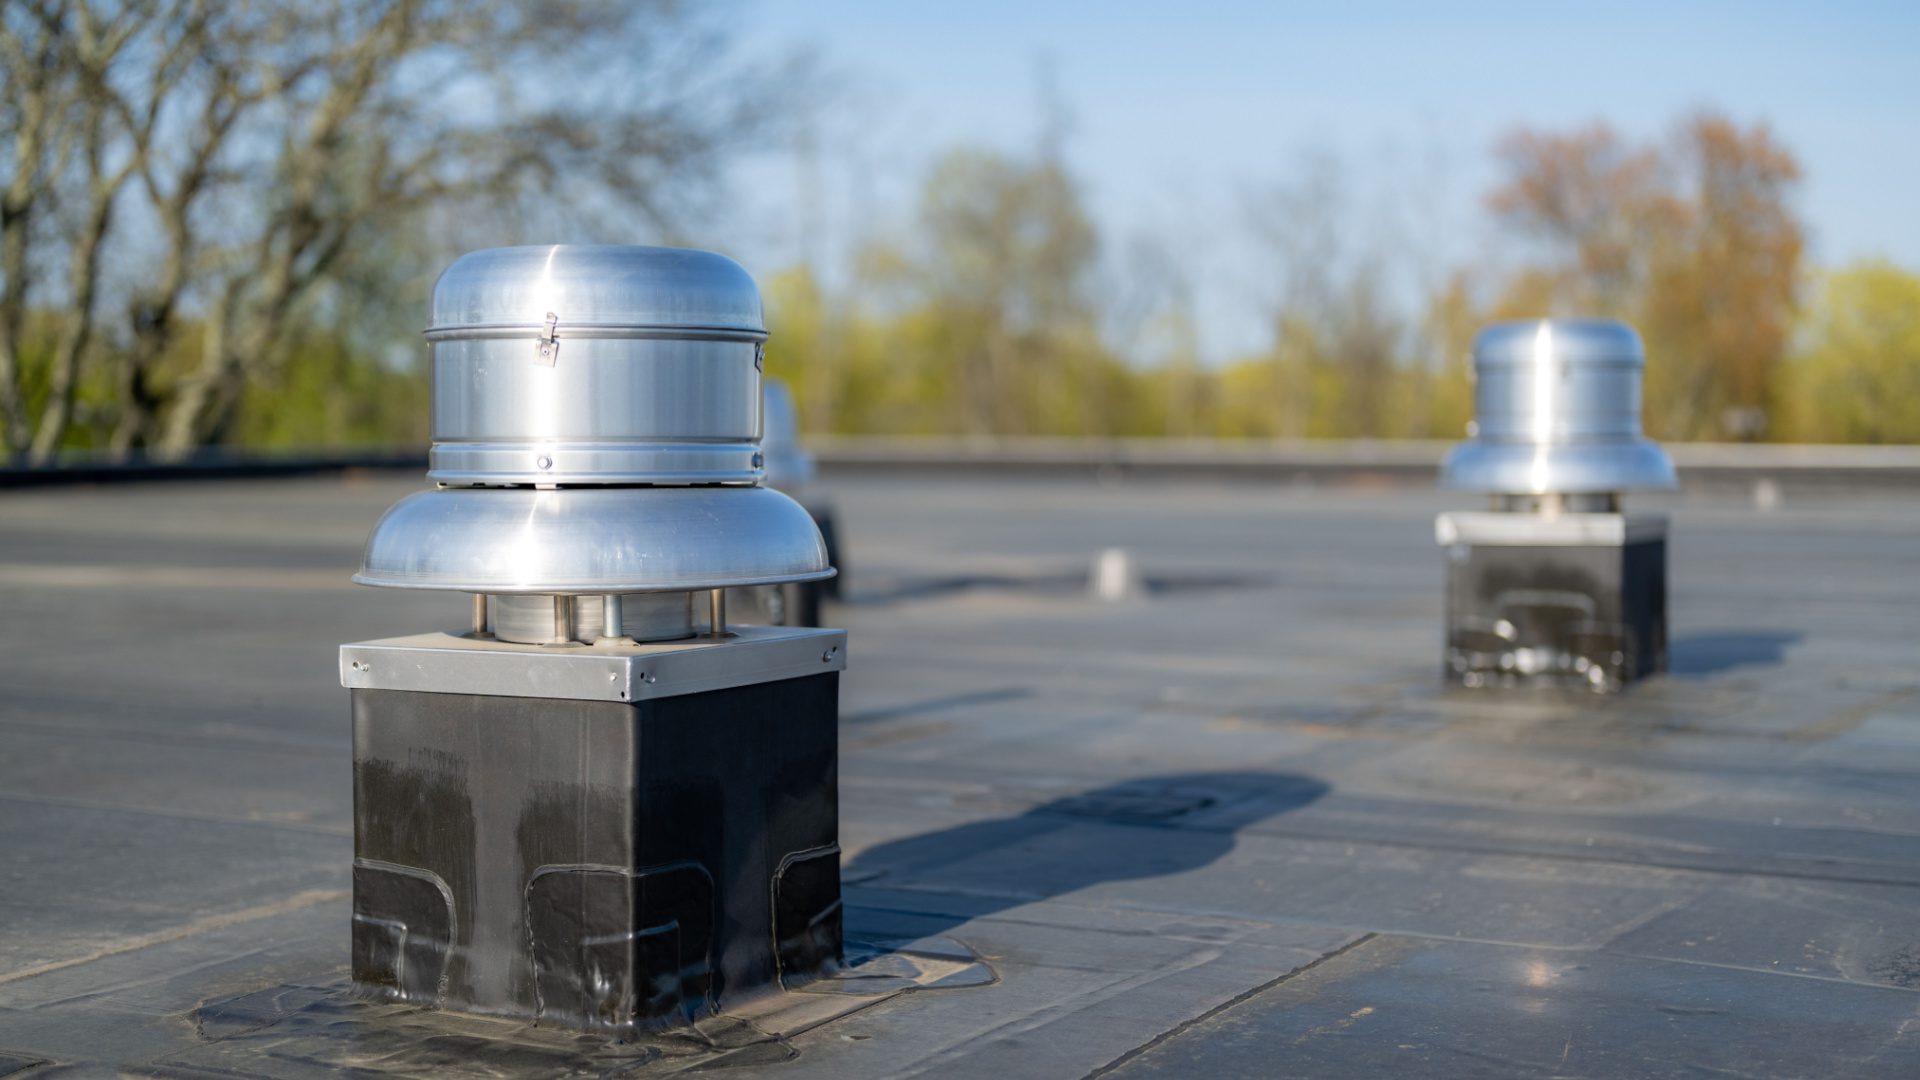
Understanding EPDM and TPO Roof Membranes
Before diving into the comparison, let’s briefly understand what EPDM and TPO roofing membranes are:
- EPDM Roofing Membrane: EPDM is a synthetic rubber membrane known for its durability and flexibility. It has been used in the roofing industry for over 50 years and is available in black or white, although the black variant is more common.
- TPO Roofing Membrane: TPO is a single-ply roofing membrane made from a blend of polypropylene and ethylene-propylene rubber. It is typically white and is known for its reflective properties.
Advantages of EPDM Over TPO
1. Proven Longevity and Durability
EPDM roofing membranes have a well-established track record, with many installations lasting 30 years or more with minimal maintenance. This longevity is due to the material’s excellent resistance to UV radiation, ozone, and extreme weather conditions. In contrast, TPO is a relatively newer product with a shorter track record, and some early formulations have experienced issues with durability over time.
2. Superior Flexibility and Elasticity
EPDM is highly flexible and elastic, allowing it to withstand significant temperature fluctuations without cracking or becoming brittle. This makes it particularly suitable for climates with extreme temperature variations. TPO, while also flexible, may not perform as well in extremely cold temperatures, where it can become less pliable.
3. Ease of Installation and Repair
EPDM membranes are known for their ease of installation. They can be installed using various methods, including ballasted, fully adhered, or mechanically attached systems. Repairs are also straightforward, typically requiring only a patch to cover any damaged areas. TPO membranes, on the other hand, require heat welding for seams and repairs, which can be more labor-intensive and require specialized equipment.
4. Cost-Effectiveness
Generally, EPDM roofing systems are more cost-effective than TPO systems. The material cost of EPDM is often lower, and its installation process is less complex, leading to reduced labor costs. Over the lifespan of the roof, the durability of EPDM also translates into fewer repair and maintenance expenses.
5. Environmental Impact
EPDM is a highly sustainable roofing option. It is made from recycled materials and is fully recyclable at the end of its life. Additionally, its long lifespan reduces the frequency of replacement, thus minimizing waste. While TPO is also considered environmentally friendly due to its reflective properties that can help reduce cooling costs, the recycling process for TPO is not as established as that for EPDM.
6. Performance in Adverse Conditions
EPDM membranes are particularly effective in resisting hail, wind, and other severe weather conditions. Their synthetic rubber composition provides a robust barrier against punctures and tears. TPO, while durable, may not offer the same level of resistance to punctures and impact damage.
Conclusion
Both EPDM and TPO roofing membranes have their advantages, but for many property owners, EPDM stands out as the superior choice due to its proven longevity, flexibility, ease of installation, cost-effectiveness, and environmental benefits. If you are looking for a reliable and durable roofing solution that will stand the test of time, EPDM should be at the top of your list.
When making your final decision, consider consulting with a professional roofing contractor who can provide insights specific to your building and climate conditions. Ultimately, choosing the right roofing membrane is an investment in the long-term protection and efficiency of your property.