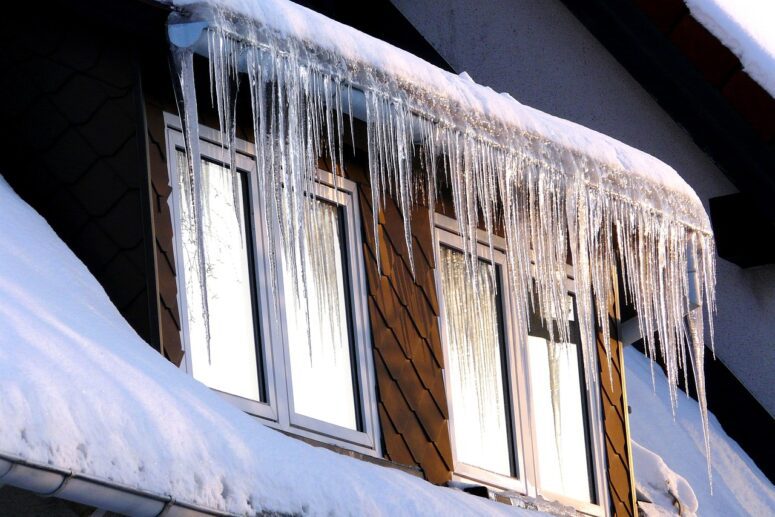
After a severe storm passes, it’s crucial to assess your home for any damage it may have sustained, particularly to the roof. Your roof is your home’s first line of defense against the elements, so identifying and addressing any damage promptly can prevent further complications and costly repairs. Here’s a step-by-step guide to help you safely check your roof for storm damage.
Step 1: Safety First
Before you begin any inspection, prioritize your safety:
- Wait for the Storm to Pass: Never attempt a roof inspection during inclement weather.
- Use the Right Equipment: Wear rubber-soled shoes for better traction and use a sturdy ladder.
- Consider a Professional: If accessing your roof is dangerous, or you’re unsure about what to look for, consider hiring a professional roofer.
Step 2: Start with a Ground-Level Inspection
Begin your inspection on the ground:
- Walk Around Your Property: Look for signs of roof damage such as pieces of shingles, metal fascia, or other materials that may have fallen off the roof.
- Check the Gutters and Downspouts: Heavy rains can dislodge gutters or fill them with debris. Ensure they are intact and clear of blockages.
Step 3: Check the Exterior from a Higher Vantage Point
If it’s safe to do so, use a ladder to get a closer look at your roof:
- Examine the Shingles: Look for missing, cracked, curled, or dented shingles. Hail storms can leave distinct circular dents.
- Inspect Metal Components: Check metal areas like vents, valleys, and flashing for dents, punctures, or dislodged parts.
- Look at the Chimney: Ensure the chimney caps are intact and the mortar hasn’t cracked.
Step 4: Inspect the Attic
Sometimes, the first signs of roof damage are visible from inside:
- Look for Leaks or Water Damage: Check the underside of the roof for dampness or water stains, especially after a heavy rain.
- Check Insulation: Wet insulation is a sure sign of water penetration.
- Spot Light Beams: During daytime, look for any light beams coming through holes in the roof.
Step 5: Document the Damage
As you inspect, document any damage:
- Take Photos: These are crucial for insurance claims and can be helpful for roof repair companies.
- Make Notes: Detail the extent and location of the damage.
Step 6: Contact Professionals
After your inspection:
- Consult a Roofing Professional: If you’ve identified damage, a professional can give you a more detailed assessment and discuss repair options.
- Contact Your Insurance Company: Report the damage as soon as possible to begin the claims process.
Conclusion
Inspecting your roof after a storm is about ensuring the integrity of your home and the safety of those inside it. By following these steps, you can identify potential problems early and take appropriate action to repair them. Remember, when in doubt, it’s always safer and more effective to call on the expertise of a professional roofing contractor.
By maintaining vigilance and addressing damage promptly, you ensure that your roof continues to serve its vital role as your home’s primary protector against the elements.