How to Prevent Ice Dams in Roof Valleys
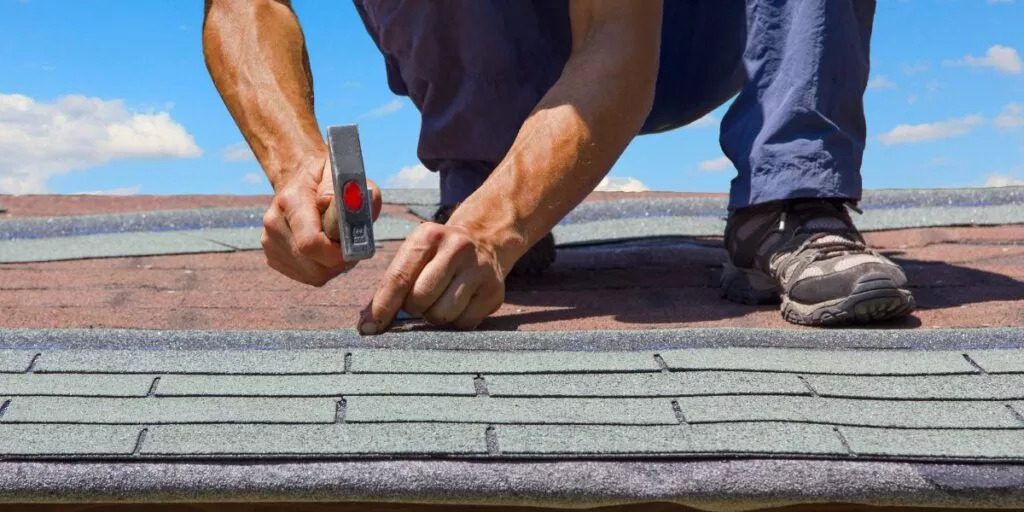
The valleys are the roof’s channels caused by the structure’s angular or directional changes. They typically feature W- or V-shaped metal pieces that ferry rainwater and melting snow off of the roof to prevent water damage such as wood rot and mold growth. However, these valleys can be susceptible to ice dams. Learn how you can keep your residential roofing safe from ice in the guide below.
What Causes Ice Dams?
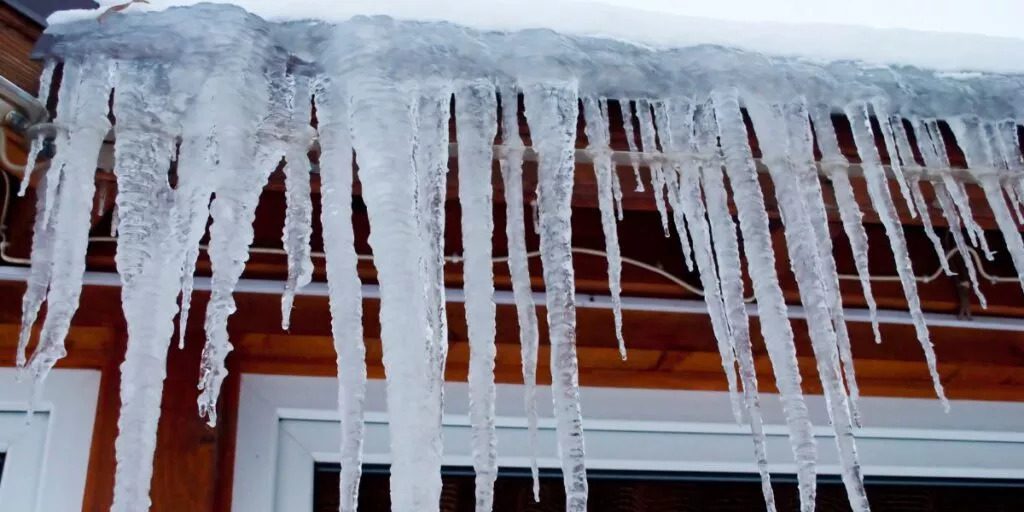
Ice dams occur when hot attic air melts snow on the roof, which refreezes along the edges of the property. The heavy sheets of ice can form icicles as melting snow drips and refreezes.
Rising warm air creates ice dams when the attic and roof rafters aren’t properly insulated. The valleys are particularly vulnerable because snow accumulations are often deeper in these areas. They also allow snow to slide down the roof before refreezing along the edges.
How They Affect Your Home
These heavy ice formations stress your roof, increasing the chances of loose shingles and leaks. Excess water can compromise wooden roof rafters, often causing rot that makes them spongy and structurally unstable.
Mold growth that breaks down wood causes further structural risks. As water makes its way through the roofing system and into your home, problems such as brownish stains on ceilings and walls, peeling paint, blistering wallpaper, and warped floors can develop.
Ice dams can also weigh on the gutter system, causing the metal parts to pull away from the house. Sagging gutters prevent rainwater and melting snow from flowing off of the roof quickly, often allowing the moisture to pool around the home’s foundation.
If water infiltrates foundation cracks, it can make them bigger through freeze/thaw cycles. The foundation can shift, while any water that enters the basement will inflict more damage.
How to Prevent Them
Stop ice dams from forming in roof valleys with quality attic insulation. Insulation keeps the heat in and the cold out. Ensure all openings around pipes, wires, and exhaust fans in the attic are sealed shut to contain warm air. Also, have thermal breaks installed under all valleys. These materials prevent heat from flowing through and contributing to ice dams.
Have the roof cleaned at least once a year, as debris that collects in the valleys can hold melting snow. It also helps to remove snow with a roof rake and keep the gutters clear so that moisture can drain efficiently.
SHARE