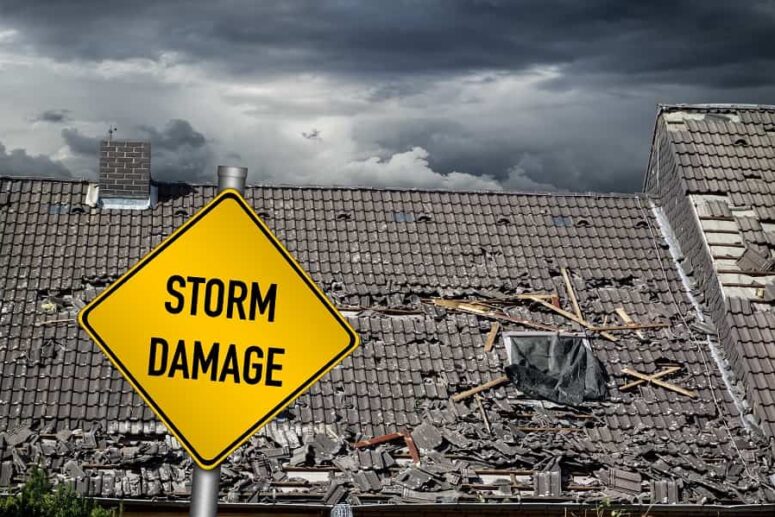
Winter is coming, and with it comes the risk of roof damage from snow, ice, wind, and cold. Your roof is your home’s first line of defense against the elements, so it’s important to make sure it’s in good shape before the winter season arrives. Here are some tips on how to prepare your roof for winter and avoid costly repairs later.
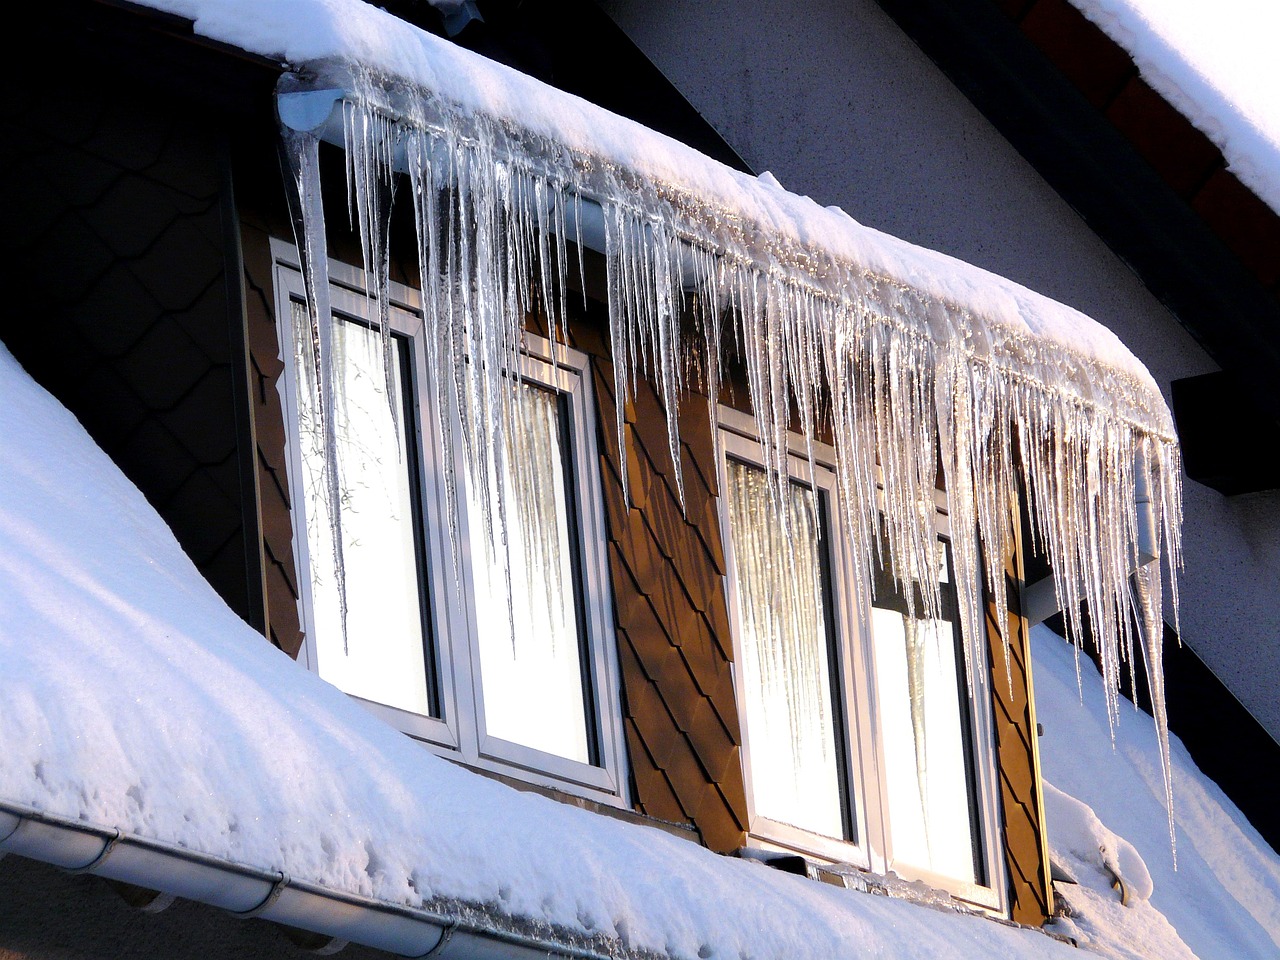
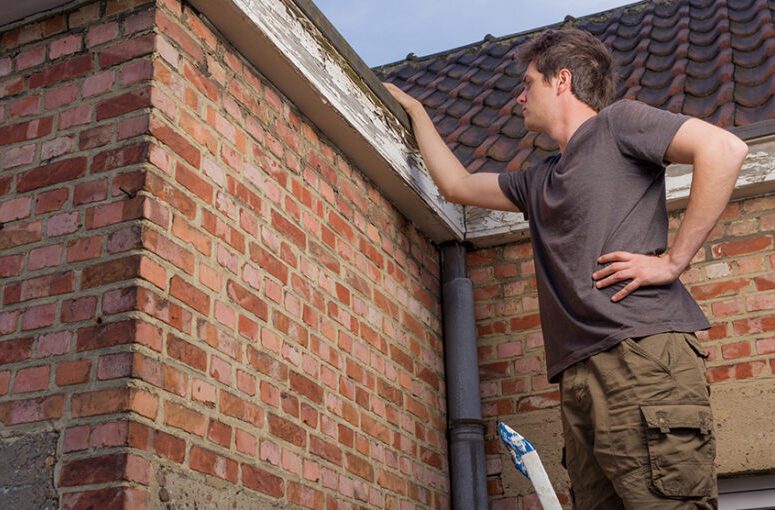
- Clean your gutters and downspouts. Clogged gutters can cause water to back up and freeze on your roof, creating ice dams that can damage your shingles, flashing, and insulation. Ice dams can also cause leaks and mold growth inside your home. To prevent this, clear out any leaves, twigs, dirt, and debris from your gutters and downspouts before winter. You can do this yourself or hire a professional gutter cleaning service. You may also want to install gutter guards to keep your gutters free of debris in the future.
- Inspect your attic for proper ventilation and insulation. Your attic plays a key role in regulating the temperature and moisture levels of your roof. If your attic is poorly ventilated or insulated, it can cause heat to escape from your home and warm up your roof, melting the snow and creating ice dams. It can also cause condensation to form on your roof deck, leading to rot and mold. To prevent this, make sure your attic has adequate ventilation and insulation. You should have vents on the roof, soffits, and gables to allow air to circulate and prevent moisture buildup. You should also have enough insulation to keep your home warm and prevent heat loss. The recommended amount of insulation varies depending on your climate and your type of roof, but generally, you should aim for an R-value of at least 38.
- Check for missing or damaged shingles. Missing or damaged shingles can expose your roof to water damage, leaks, and mold. If you have any shingles that are cracked, curled, loose, or missing, you should replace them as soon as possible. You can do this yourself if you have the skills and tools, or you can hire a professional roofer to do the job. You should also look for any signs of granule loss, which indicates that your shingles are worn out and need to be replaced. Granules are the small particles that coat the surface of your shingles and protect them from UV rays and weathering. If you see granules in your gutters or on the ground, it means your shingles are losing their effectiveness and may not last through the winter.
- Repair or replace damaged flashing. Flashing is the metal material that seals the gaps and joints around your chimney, skylights, vents, and valleys. Flashing prevents water from seeping into your roof and causing leaks and damage. However, flashing can also get damaged by wind, hail, or corrosion, leaving your roof vulnerable to water intrusion. To prevent this, inspect your flashing for any cracks, holes, rust, or loose nails. If you find any damage, you should repair or replace your flashing as soon as possible. You can do this yourself if you have the skills and tools, or you can hire a professional roofer to do the job.
- Replace old or worn-out caulking. Caulking is the sealant that fills the gaps and cracks around your roof fixtures, such as vent pipes, chimneys, and counter-flashing. Caulking prevents water from entering your roof and causing leaks and damage. However, caulking can also deteriorate over time, especially in cold weather, and lose its effectiveness. To prevent this, check your caulking for any signs of cracking, peeling, or separation. If you find any damage, you should replace your caulking as soon as possible. You can do this yourself if you have the skills and tools, or you can hire a professional roofer to do the job.
- Trim the trees around your roof. Trees can provide shade and beauty to your home, but they can also pose a threat to your roof in winter. Branches can break off and fall on your roof, causing damage to your shingles, flashing, and gutters. Leaves and needles can accumulate on your roof, creating a fire hazard and blocking your drainage system. To prevent this, trim any branches that are overhanging or touching your roof. You should also remove any dead or diseased trees that could fall on your roof during a storm. You can do this yourself if you have the skills and tools, or you can hire a professional tree service to do the job.
- Add a heat cable to prevent ice dams. A heat cable is a device that runs along the edge of your roof and emits a low level of heat to prevent ice from forming. A heat cable can help prevent ice dams, which are ridges of ice that form at the edge of your roof and prevent melted snow from draining off. Ice dams can cause water to back up and seep under your shingles, causing leaks and damage. To prevent this, you can install a heat cable along the eaves of your roof, especially if you have a low-pitched or flat roof. You can do this yourself if you have the skills and tools, or you can hire a professional roofer to do the job. However, keep in mind that a heat cable is not a permanent solution and should be used in conjunction with proper ventilation and insulation.
- Get your roof rake ready. A roof rake is a tool that allows you to remove snow from your roof without climbing on it. Removing snow from your roof can help prevent ice dams, leaks, and damage. However, you should only do this if you can safely reach your roof from the ground or a ladder. You should also be careful not to damage your shingles, flashing, or gutters with the rake. You can buy a roof rake at any hardware store or online.
- Hire a professional roofer for a thorough inspection. While you can perform some of the roof maintenance tasks yourself, it is always a good idea to hire a professional roofer for a thorough inspection before winter. A professional roofer can spot any issues that you may have missed, such as hidden leaks, structural damage, or mold growth. They can also provide you with expert advice and recommendations on how to improve your roof’s performance and durability. A professional roofer can also perform any repairs or replacements that you may need, such as installing new shingles, flashing, or insulation. Hiring a professional roofer can save you time, money, and hassle in the long run, as well as ensure your roof’s safety and longevity.
By following these tips, you can prepare your roof for winter and protect your home from the harsh weather conditions. A well-maintained roof can also increase your home’s value, curb appeal, and energy efficiency. So don’t wait until it’s too late, get your roof ready for winter today!


